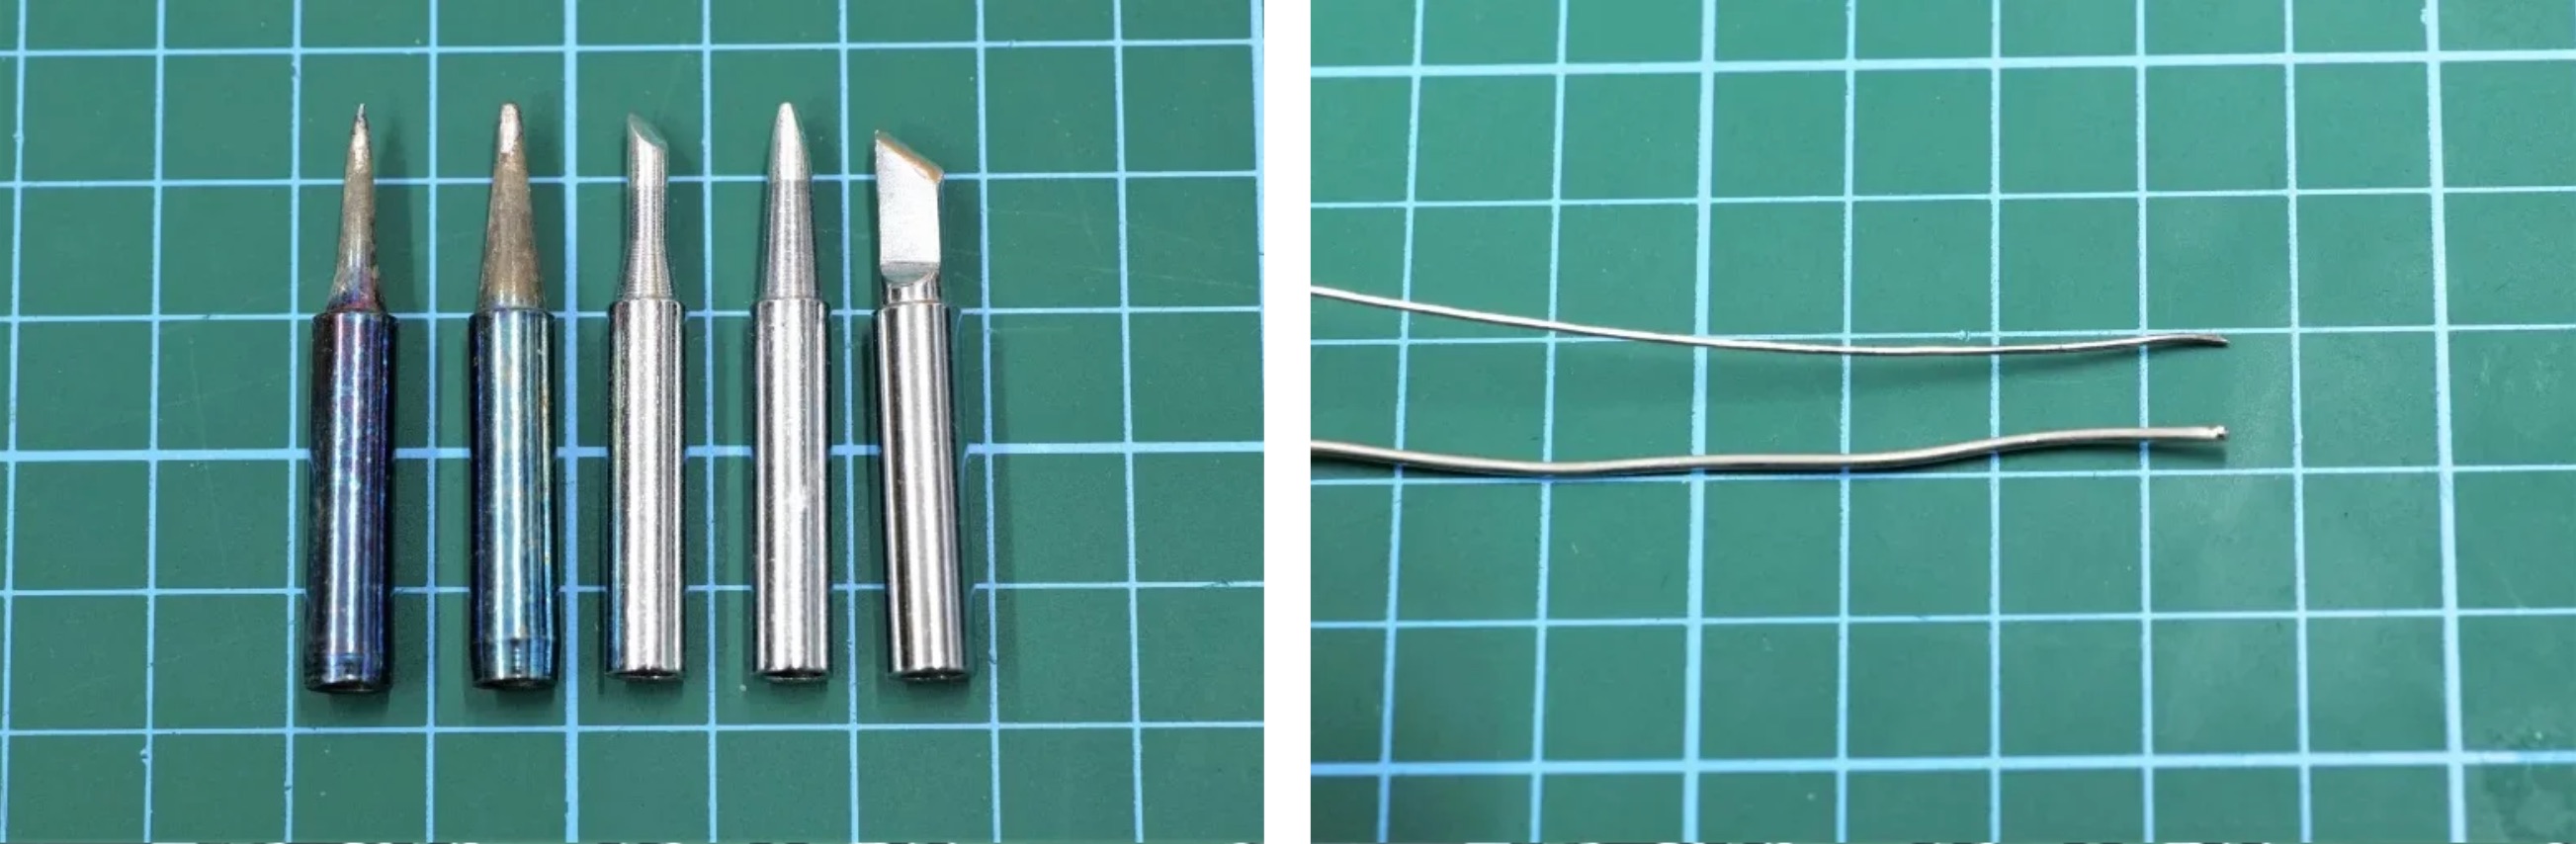
When soldering SMD components, there are numerous techniques that can be used including hand soldering, hot air soldering, and reflow. In almost all MitchElectronics kits, the best way to solder SMD Trainer kits is to use a soldering iron with a fine needle tip as this will allow you to provide heat to the specific pad that you want to solder. Hot air soldering guns can be used, but they are a tad tricky as they have a habit of blowing components off PCBs if the solder is poor and the airflow too strong. Reflow soldering involves a very large and long oven which is only available to commercial fabrication houses, but some makers have managed to use DIY toaster ovens to melt solder en-masse, so that could be an interesting option (but exercise extreme caution when doing so).
To solder an SMD part by hand, you need to take the following steps.
1 - Clean the PCB
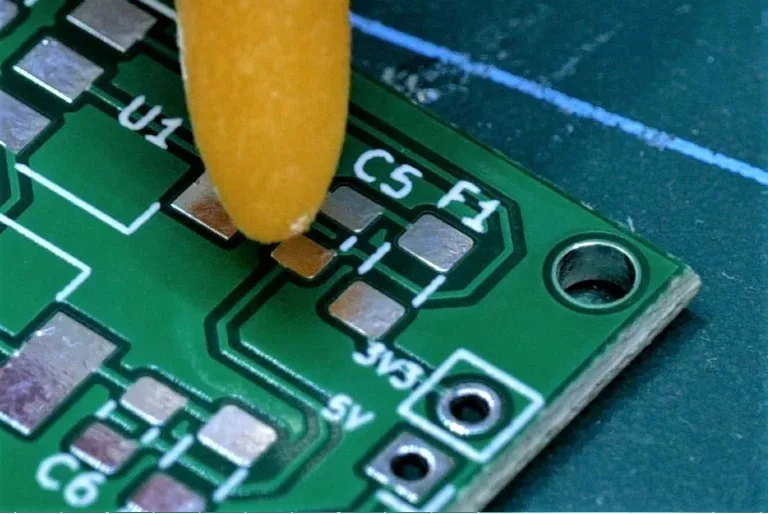
2 - Apply flux to the pads
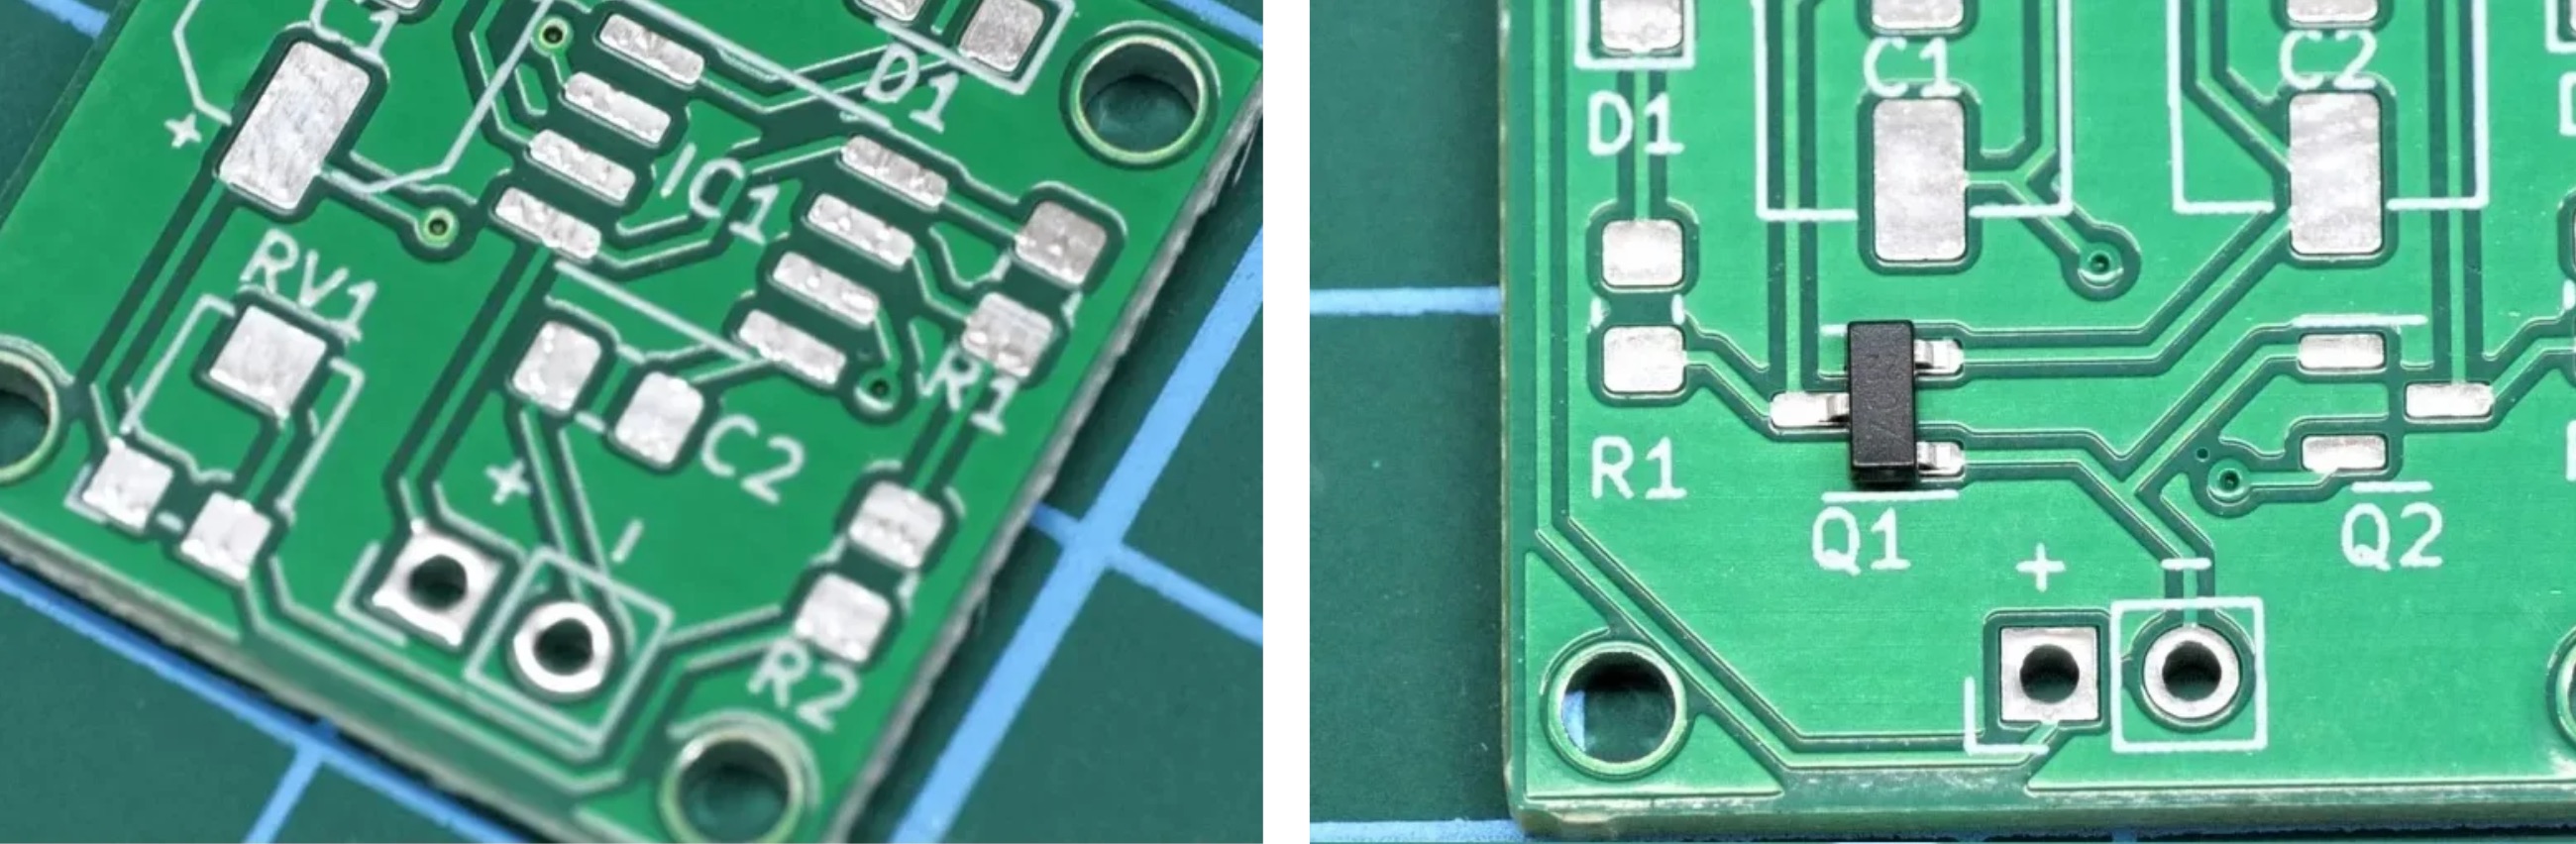
3 - Position your component
4 - If soldering a two-pin part -> Hold down with tweezers and heat one edge
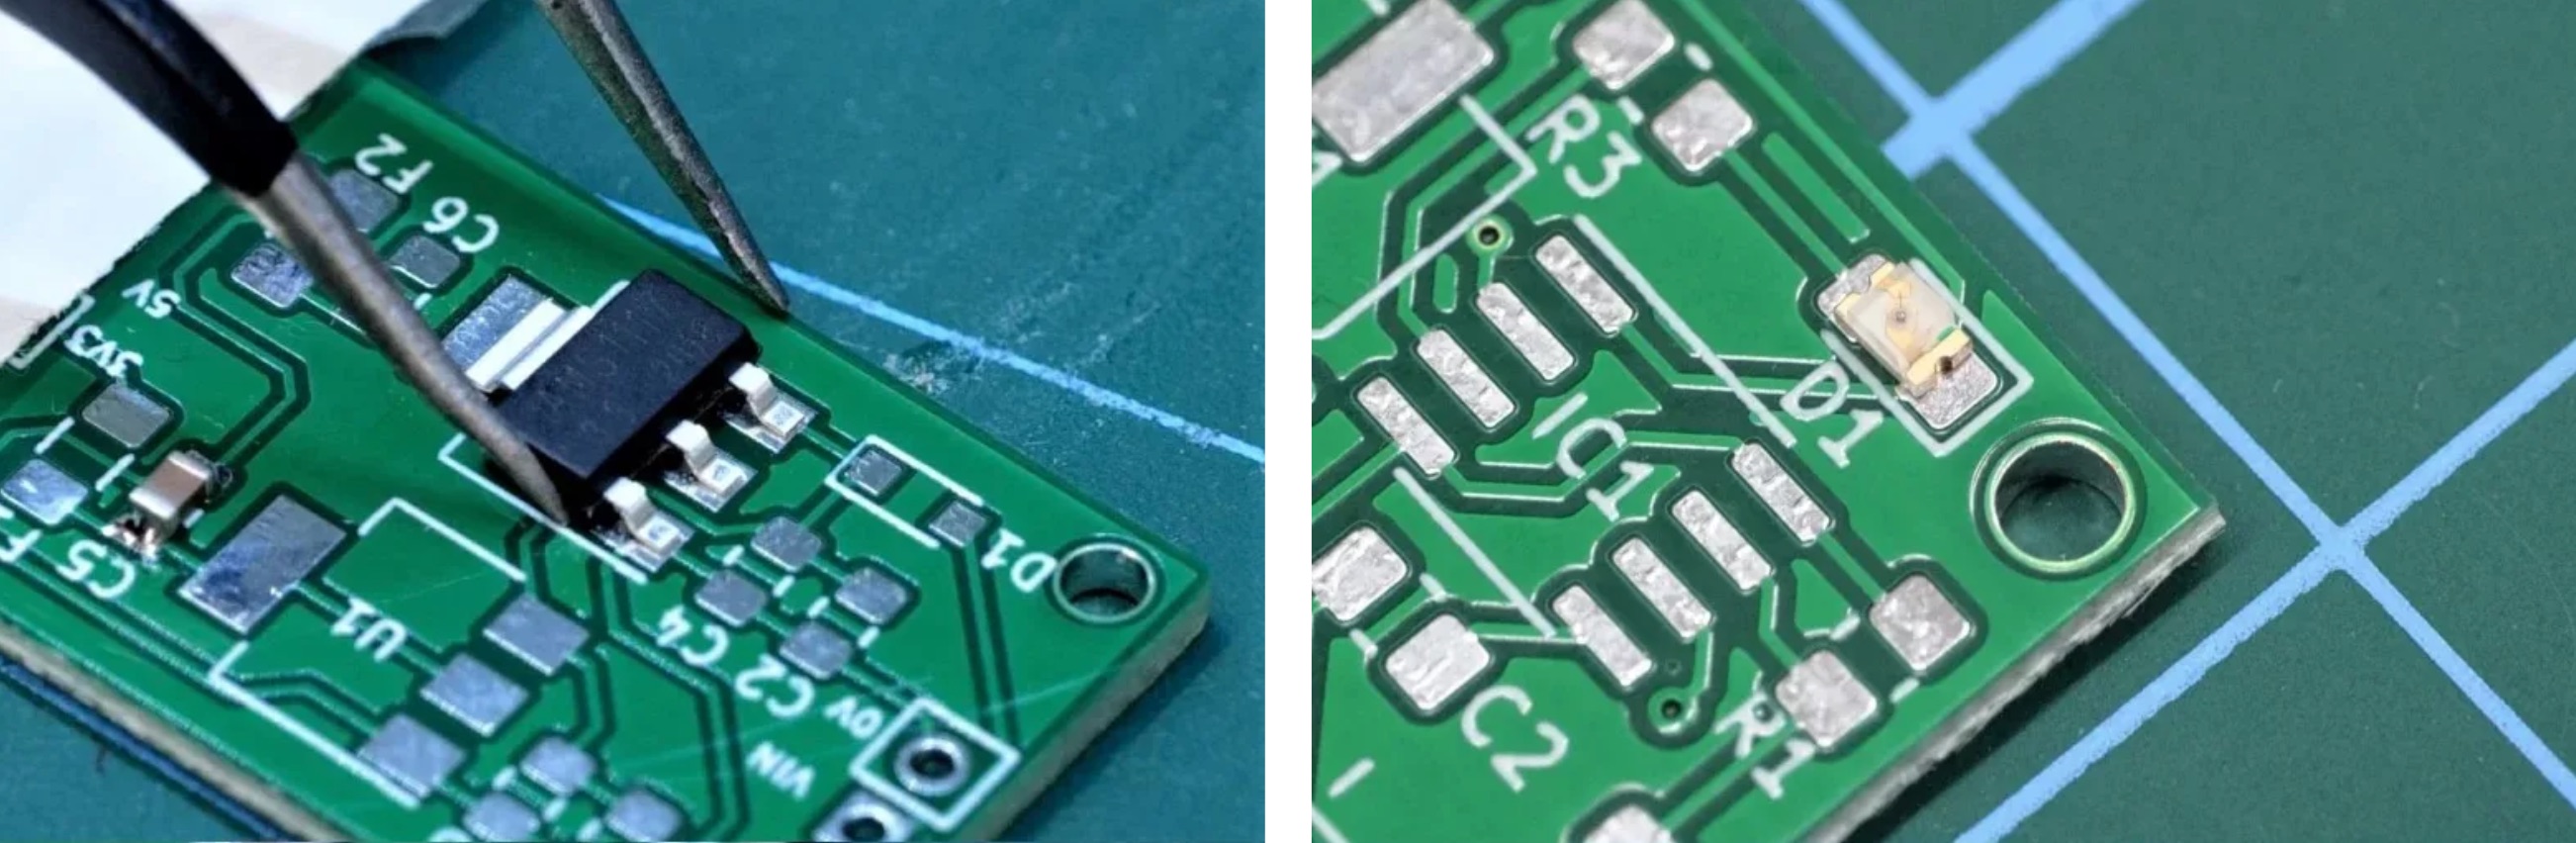
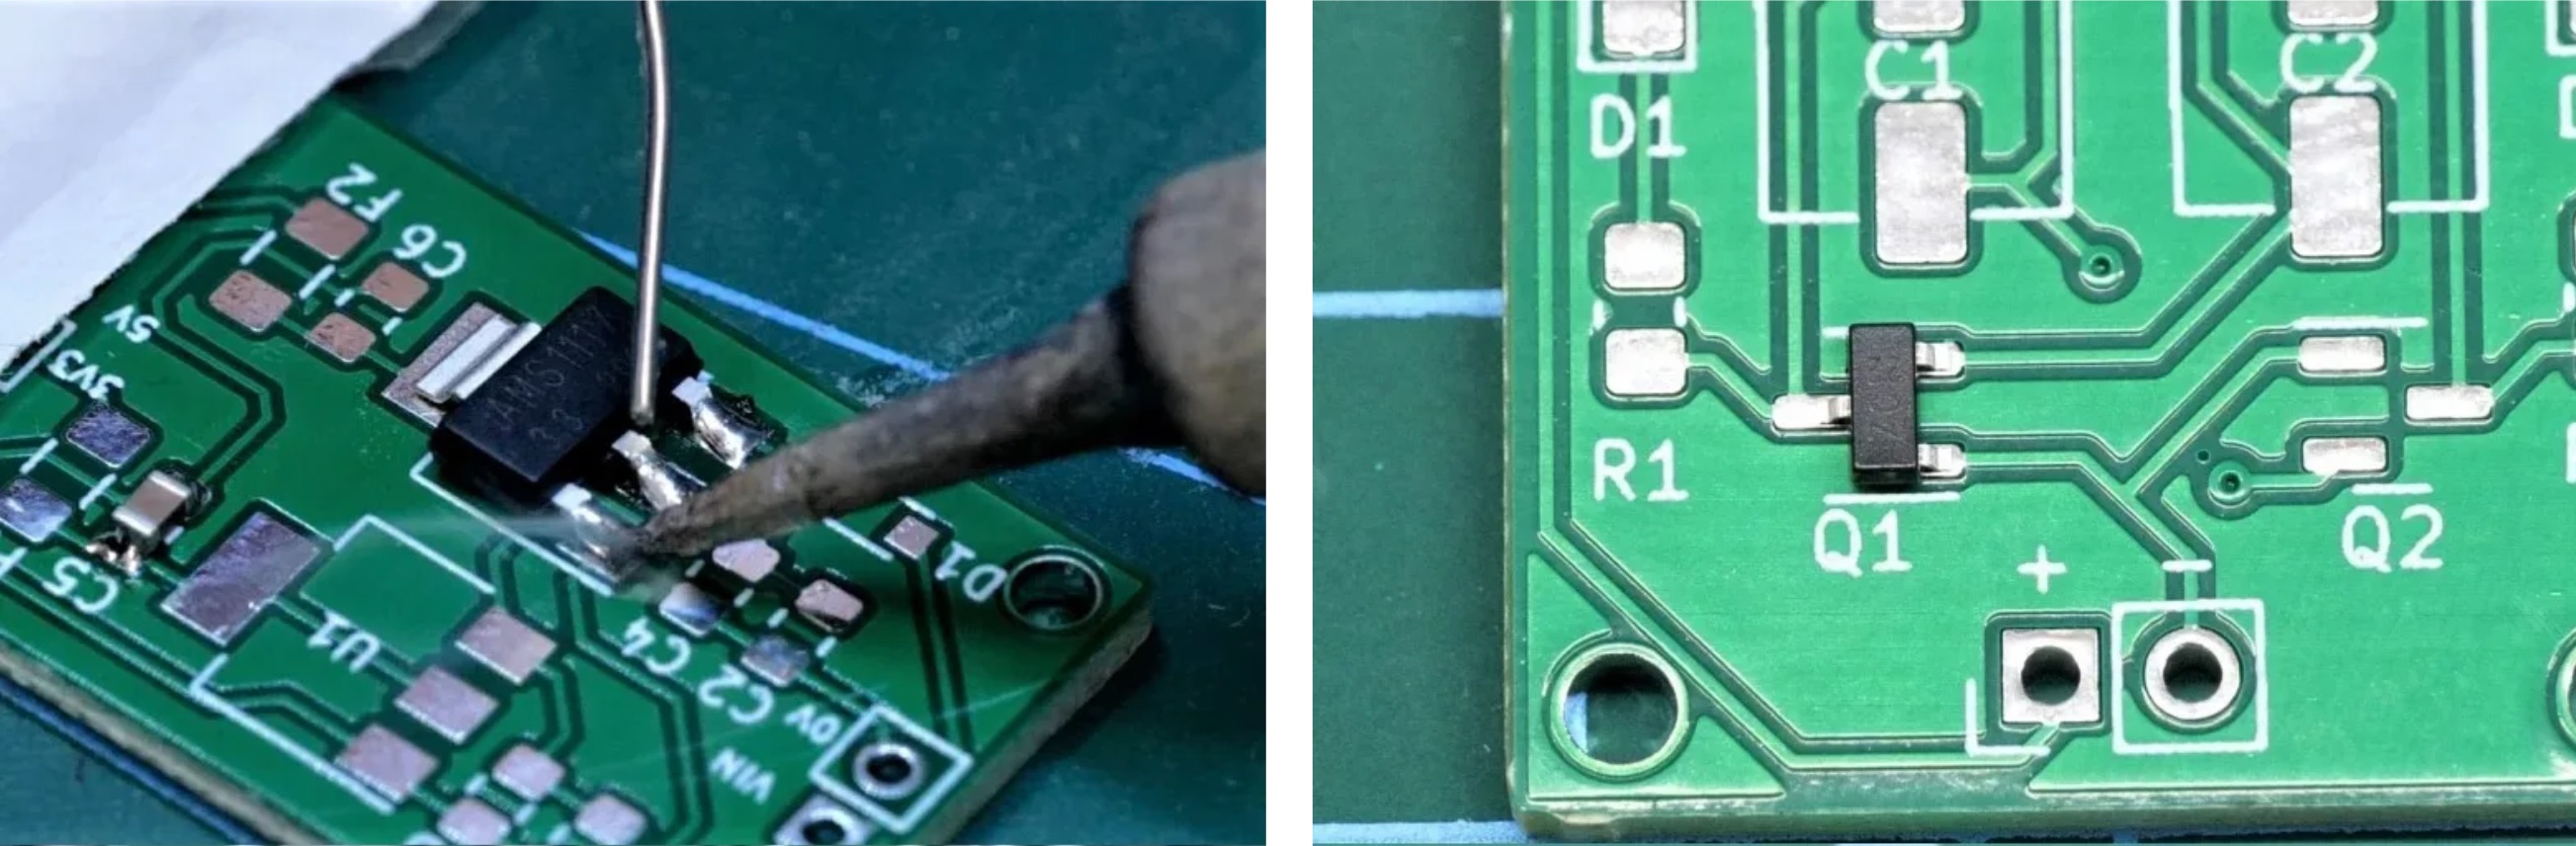
5 - If part has more than two pins -> solder one leg and check the orientation
6 - Adjust orientation if needed
7 - Continue to solder the other pins
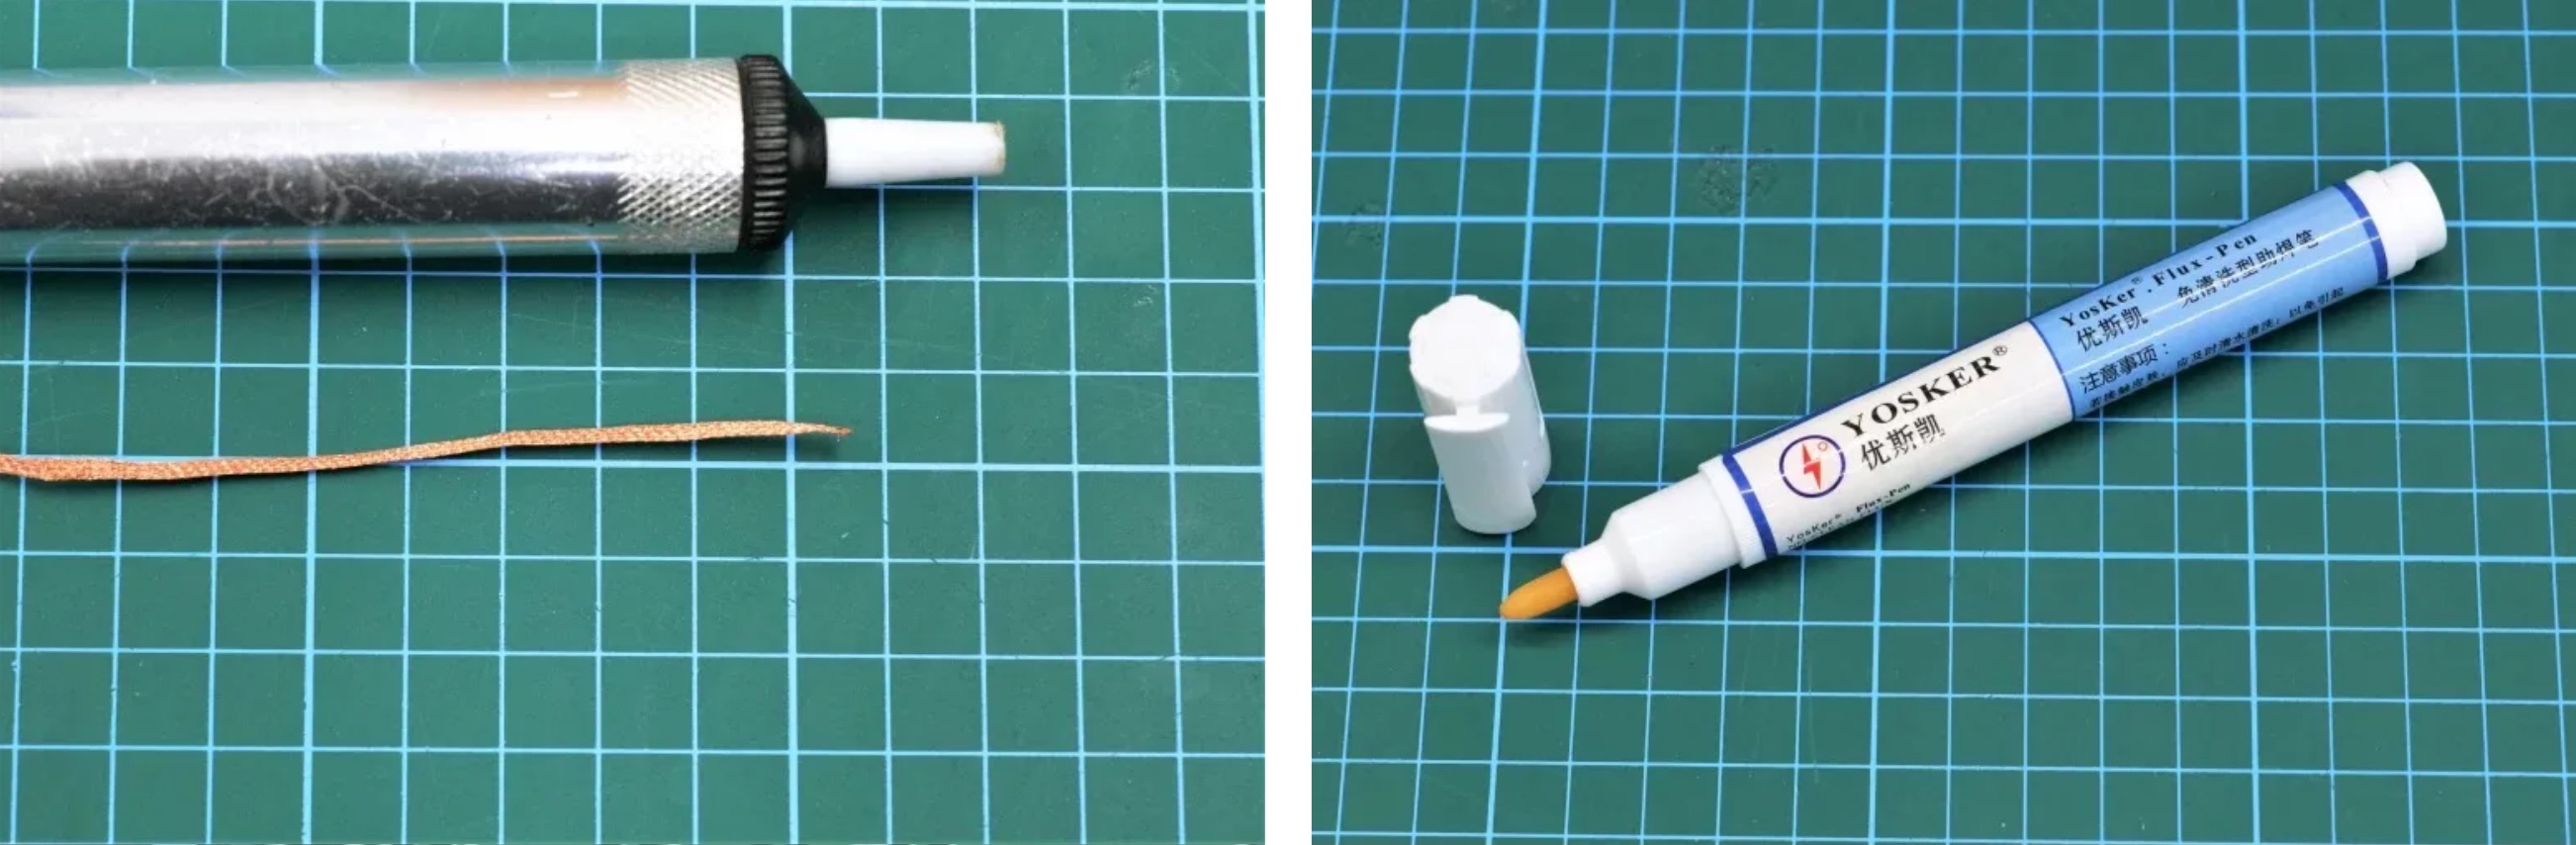
The cleaner your PCB, the better chance you have at producing professional solder joints. All PCBs that MitchElectronics produces have strict quality controls to make sure that all PCBs are protected against corrosion and containments, but upon opening the kit, a quick wipe down with some electronics-grade alcohol can be helpful. Electronics grade alcohol is typically greater than 90% IPA, and the higher you can get, the better!
Of all the steps you can do, this by far is one of the most important. Flux is a chemical that, when heated, breaks down into an acid and eats away at oxides and oils leaving behind the ultimate soldering surface. Flux can come in numerous forms including liquid dispensers that can be brushed onto the PCB, in liquid pens that can be drawn on, and even as a paste (but paste is often used by plumbers and not electronic engineers). Of all the flux options available, we strongly suggest the pen variety as they are small, cheap, and convenient to use.
Once you have identified the component you want to solder, make sure to check if that part has a specific orientation or value, and be absolutely sure that the component is placed on the correct pads! After you have checked this, and only after, you can place the component onto the PCB and get your soldering iron ready for some soldering!
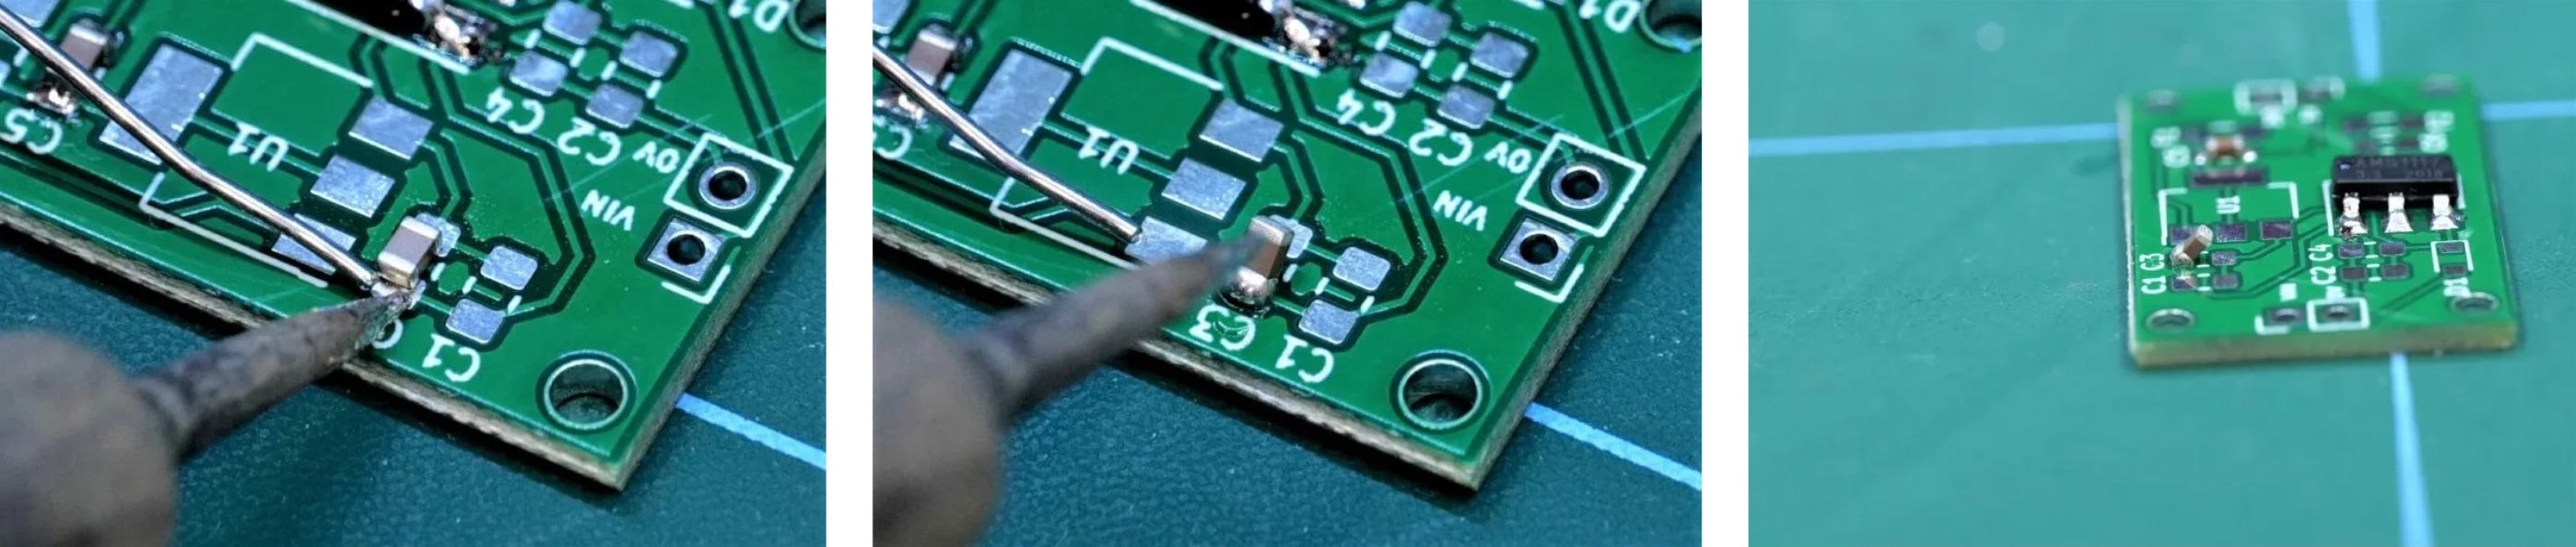
If you part has only two legs or pads, then you will likely need to do the tweezer method to prevent tombstone (see tombstoning to understand what that is). Start by adding a small amount of solder to the tip of your soldering iron, and we mean a small amount. If you put too much solder to the end of your tip, it will bulge, and this will blot over the pad and create a horrid connection.
With the soldering iron in your dominant hand and a pair of small tweezers in your recessive hand, gently push down on top of the SMD part to prevent it moving, and then gently but quickly touch one of the pads. This should allow a tiny amount of solder to bond between the pad and the part thus holding it in place, but not provide enough solder to form a proper connection.
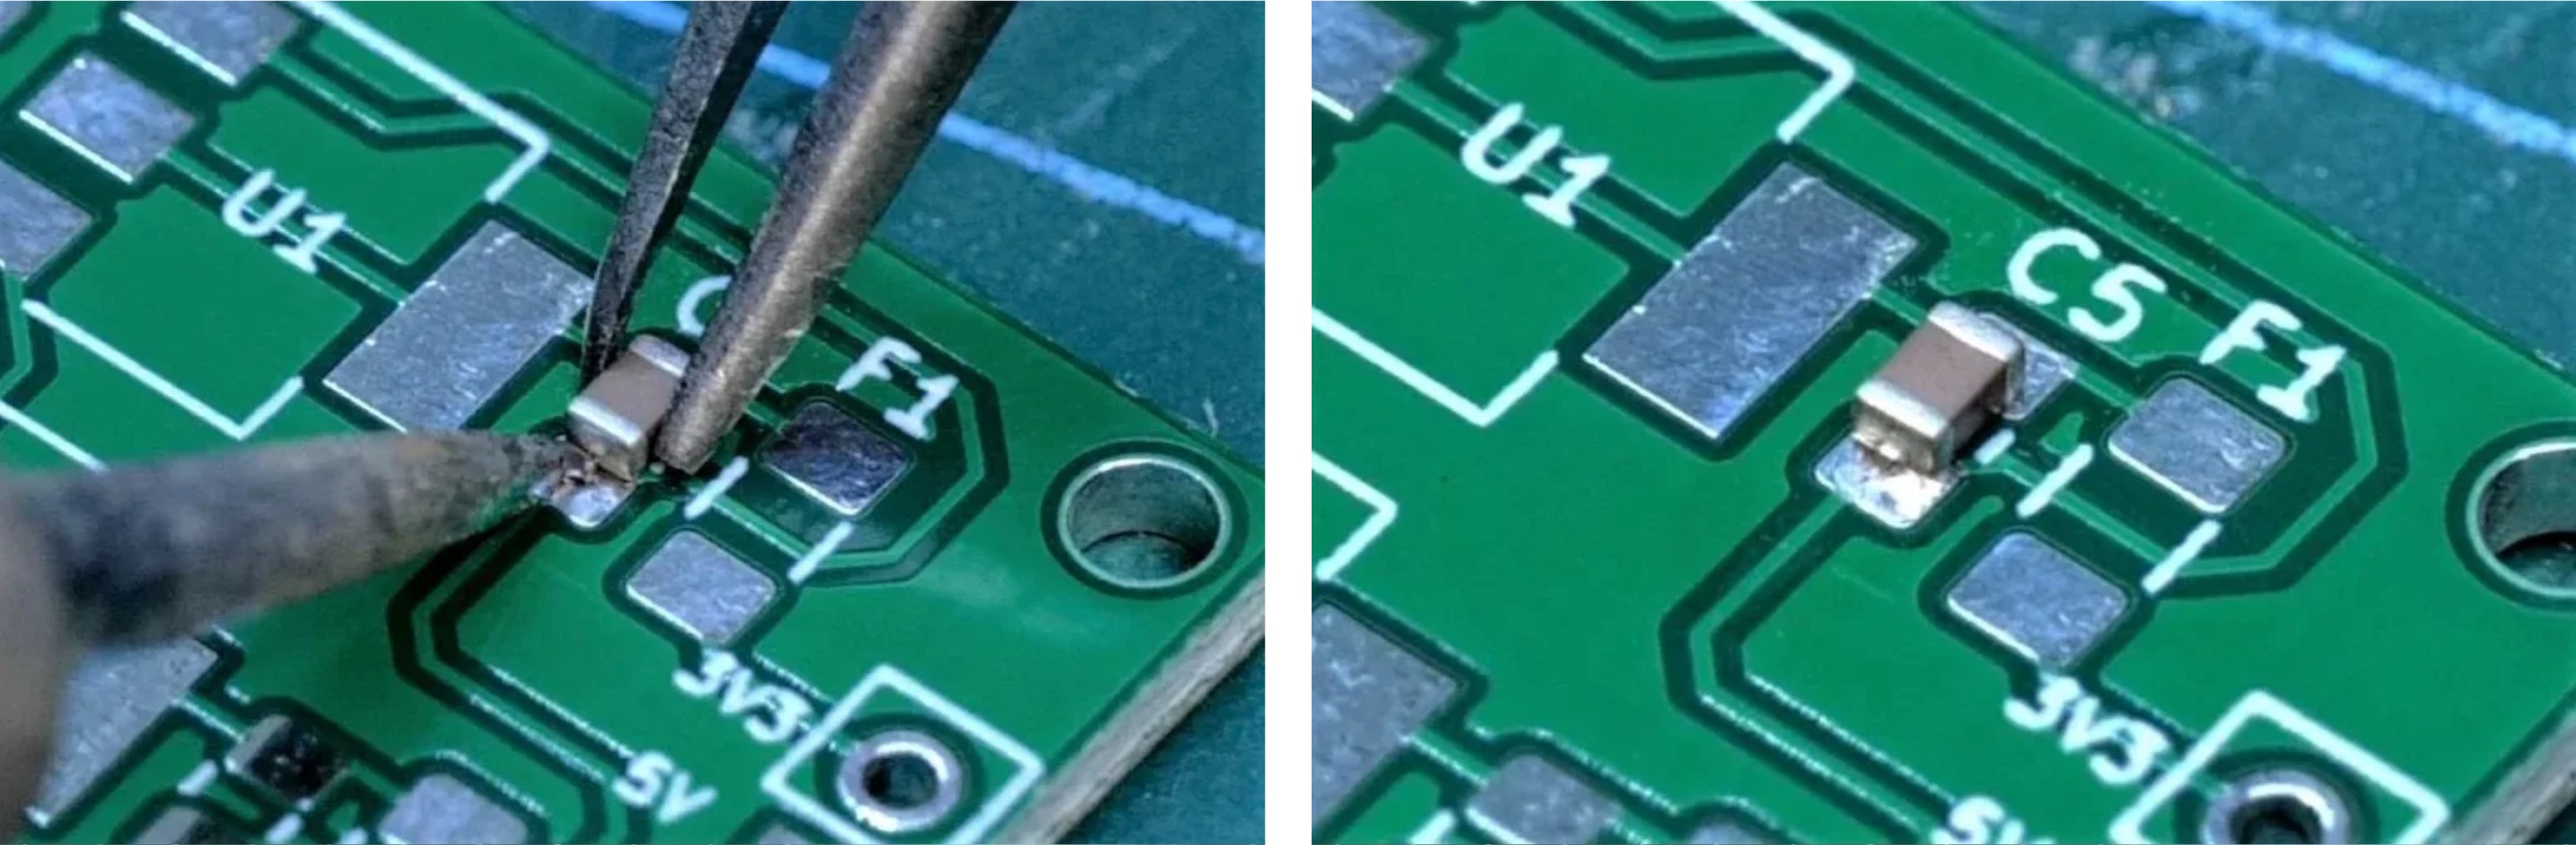
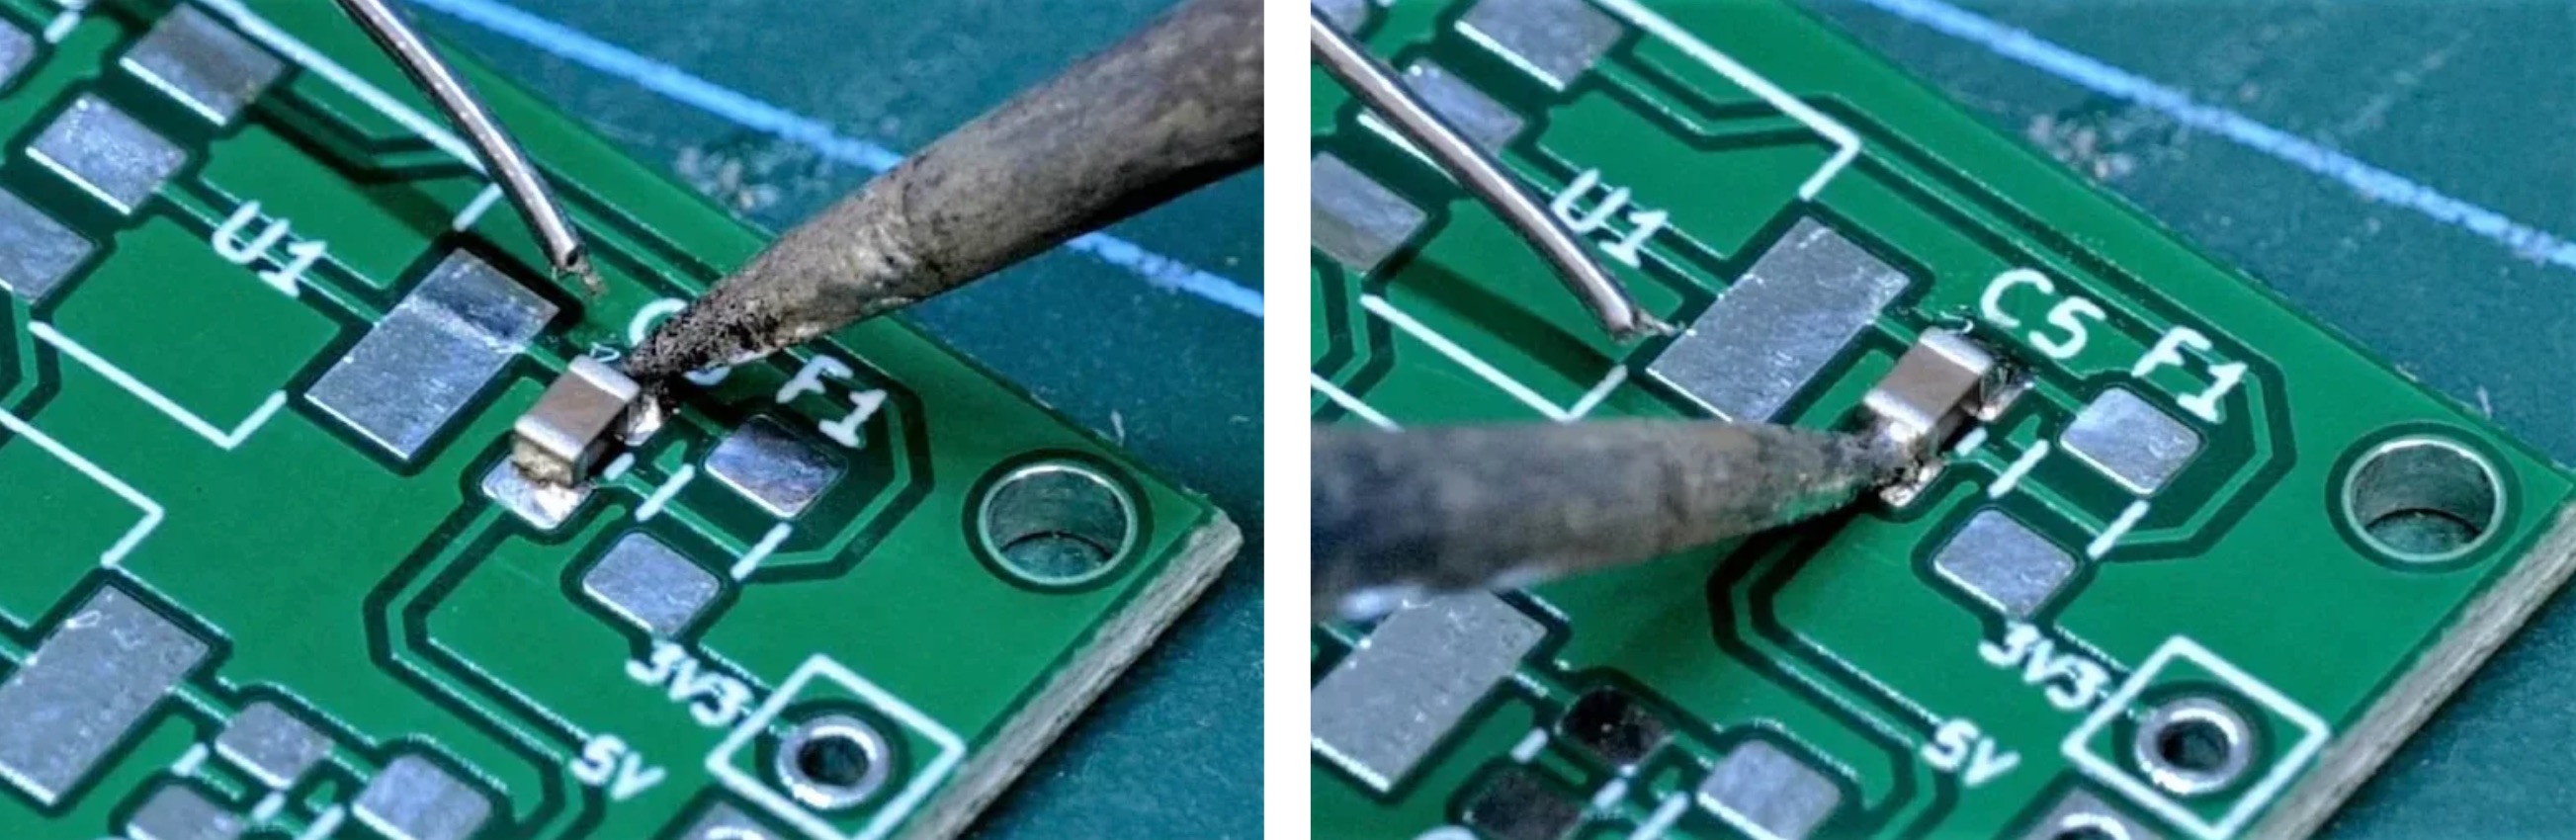
At this point, solder the other side using the standard soldering technique (where the soldering iron heats the component, solder wire is brought to the tip, and then the tip and wire are removed). Finally, solder the original pad that was only touched, and this should result in a professionally soldered part.
Parts with more than two legs are somewhat easier to solder as they don’t suffer from tombstoning. Furthermore, there is far more freedom when it comes to orientation and alignment, so don’t worry too much if you struggle.
With the component correctly positioned, start by soldering one corner of the part. If you find that the part has moved around during this first solder, you will be able to apply heat to that pad and then use a pair of tweezers to align the part. However, don’t apply heat for too long otherwise you may damage it, so aim for getting the correct orientation in under 10 seconds.
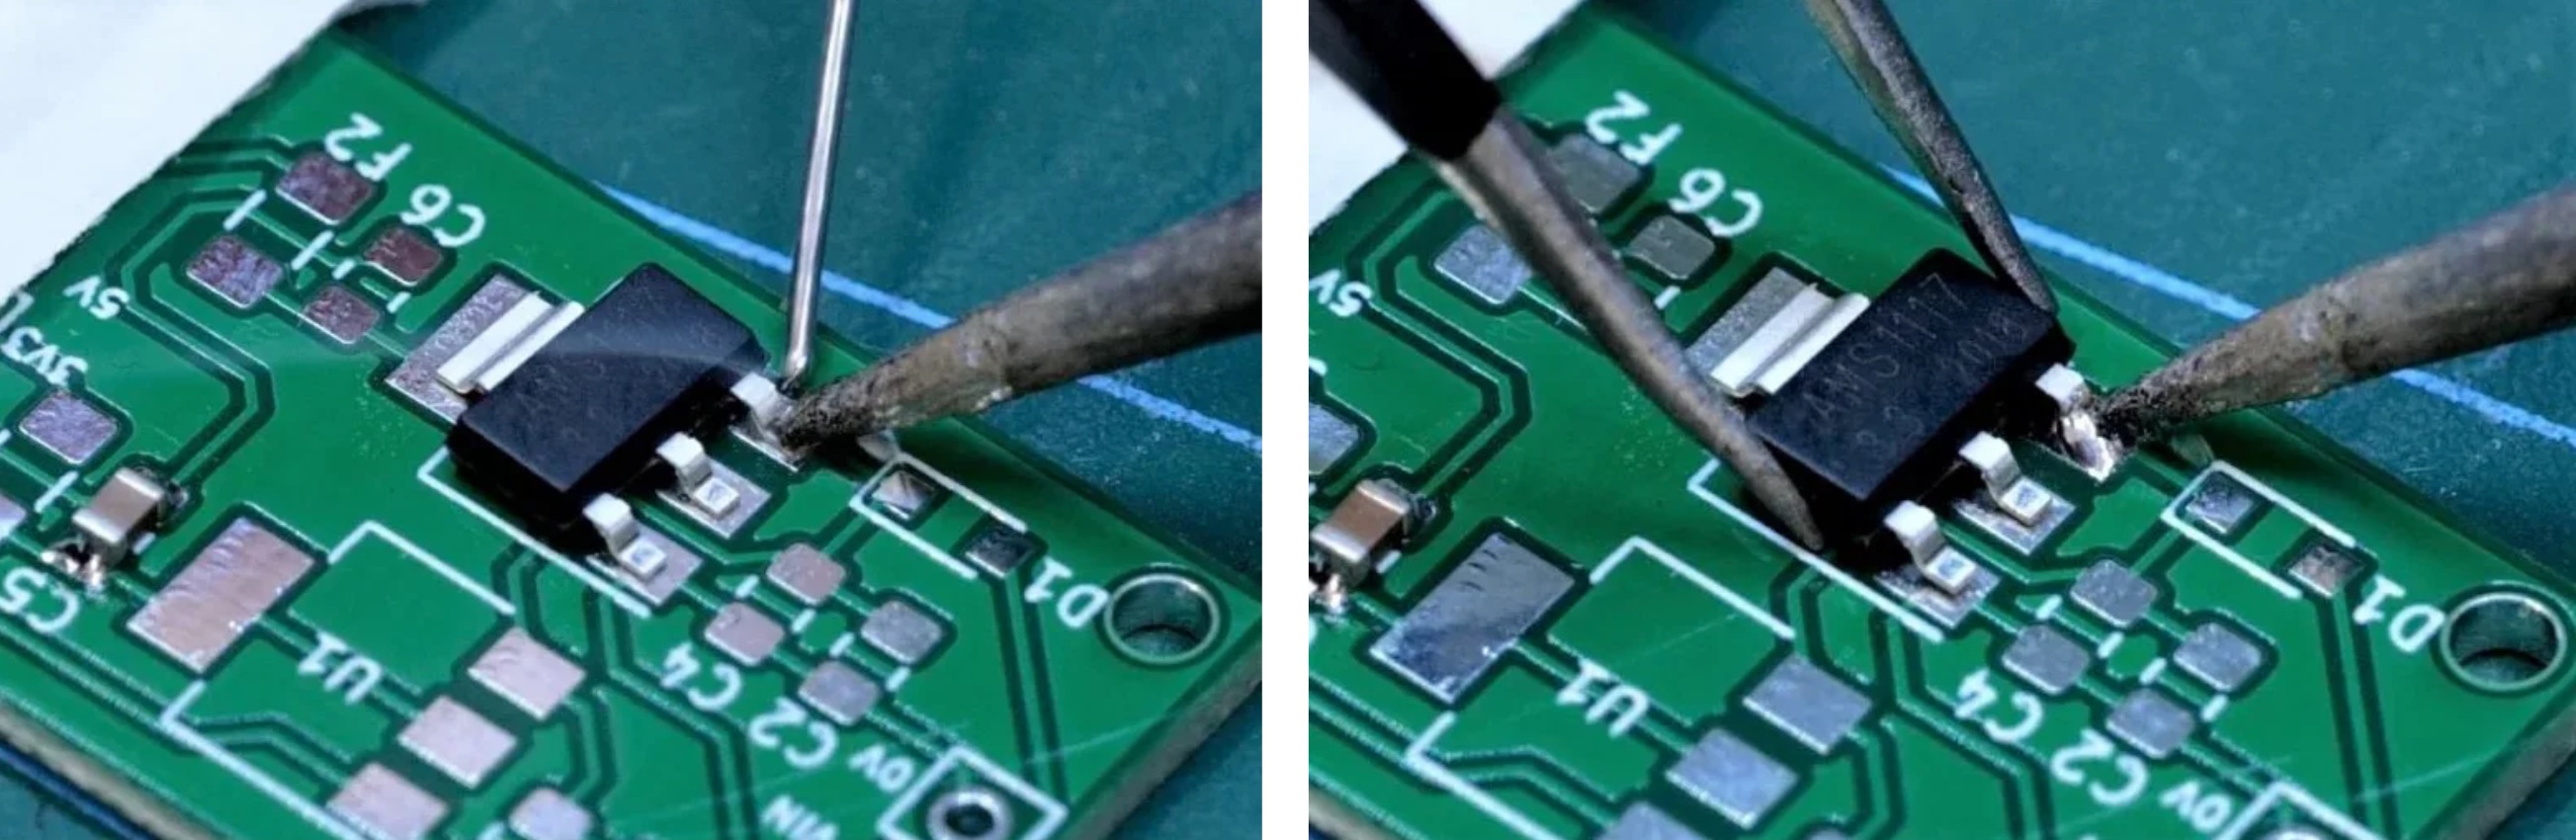
Once the orientation is confirmed and one pad has been soldered, continue to solder the other pins using the standard solder technique (where the soldering iron heats the component, solder wire is brought to the tip, and then the tip and wire are removed). Finally, you can go back to the first solder joint and clean it up for a more professional finish (this may be needed if you had to rework the orientation of the part).
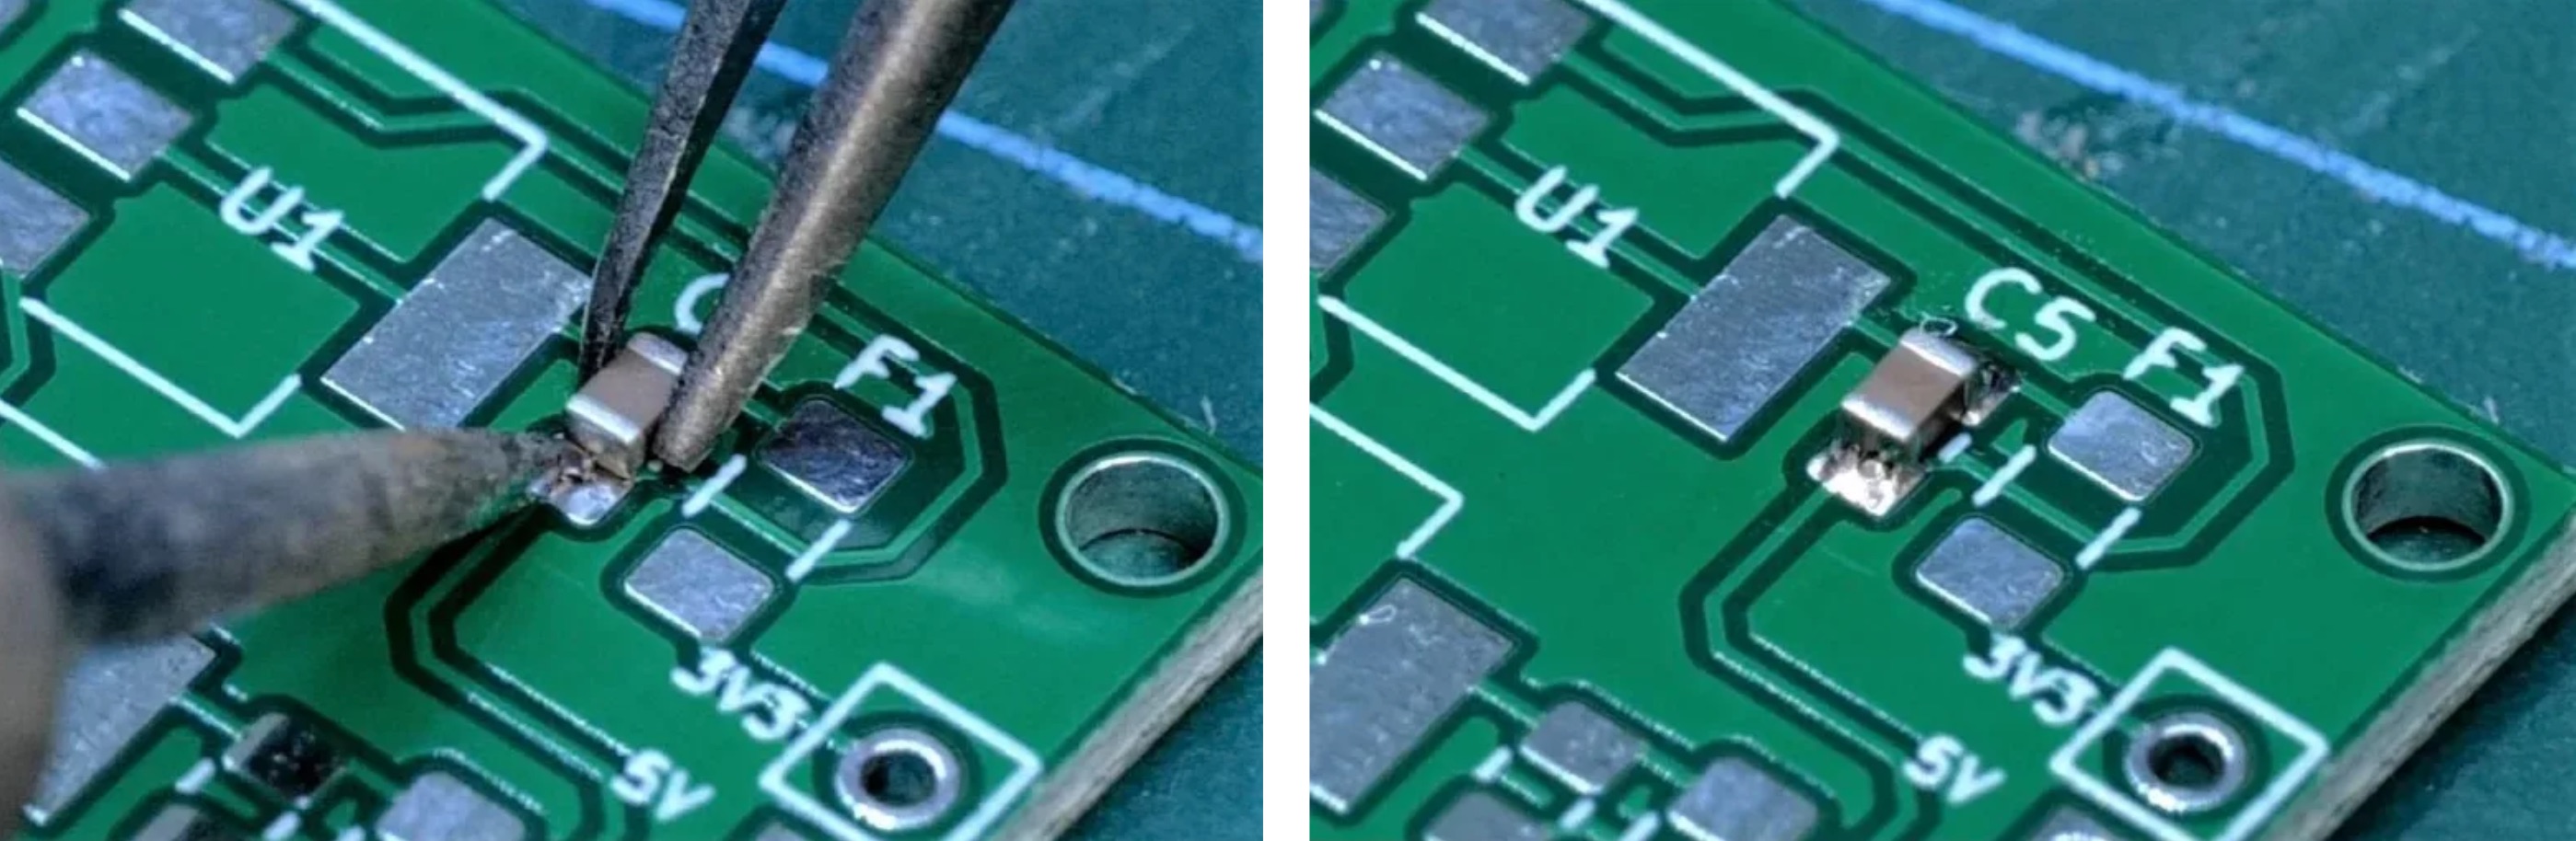
When soldering components such as resistors and capacitors, a rather unusual phenomena can occur known to engineers as “tombstoning”. Just as tombstones vertically stick out of the ground, soldering just one side of a two-pin part can see the side with solder being sucked up vertically. If this effect occurs on a large PCB with many components, it looks like a graveyard with many individual tombstones, hence the name tombstoning.
Stopping tombstoning can be a challenge when manually soldering as the side that has solder will naturally try to pull the component towards it. However, because all MitchElectronics PCBs have a layer of solder already on the pads, it is possible to get around this by using a pair of tweezers to hold the part down and touching one side with a soldering iron. There should be enough residual solder in the tip of the iron and the pad that forms a small solder joint between the pad and part.
If successful, soldering the other side should be very easy to do, and then you can solder the original pad that was touched by the tip. However, if you heat the part for too long, the heat from one side will transfer to the other, and this can melt the tiny solder joint which will then cause tombstoning. So it’s about speed and being fluid with your solder technique.

(+44) 7516 323 698

27 Willow Way, Meon Vale, CV37 8FT, United Kingdom

Co. House No. 14068499


