Congratulations on getting your SMD kit from MitchElectronics! Whether you are just in need of some SMD solder practice or require a kit that is smaller than typical through-hole designs, the MitchElectronics SMD Trainer range is perfect for makers and engineers alike.
The first thing to note about MitchElectronics SMD Trainer kits is that they often come with more components than you need to build the kit. For example, resistors and capacitors typically come in strips with a least 5 parts as this helps ease the process of kitting, but your kit will not need to use all of these components.
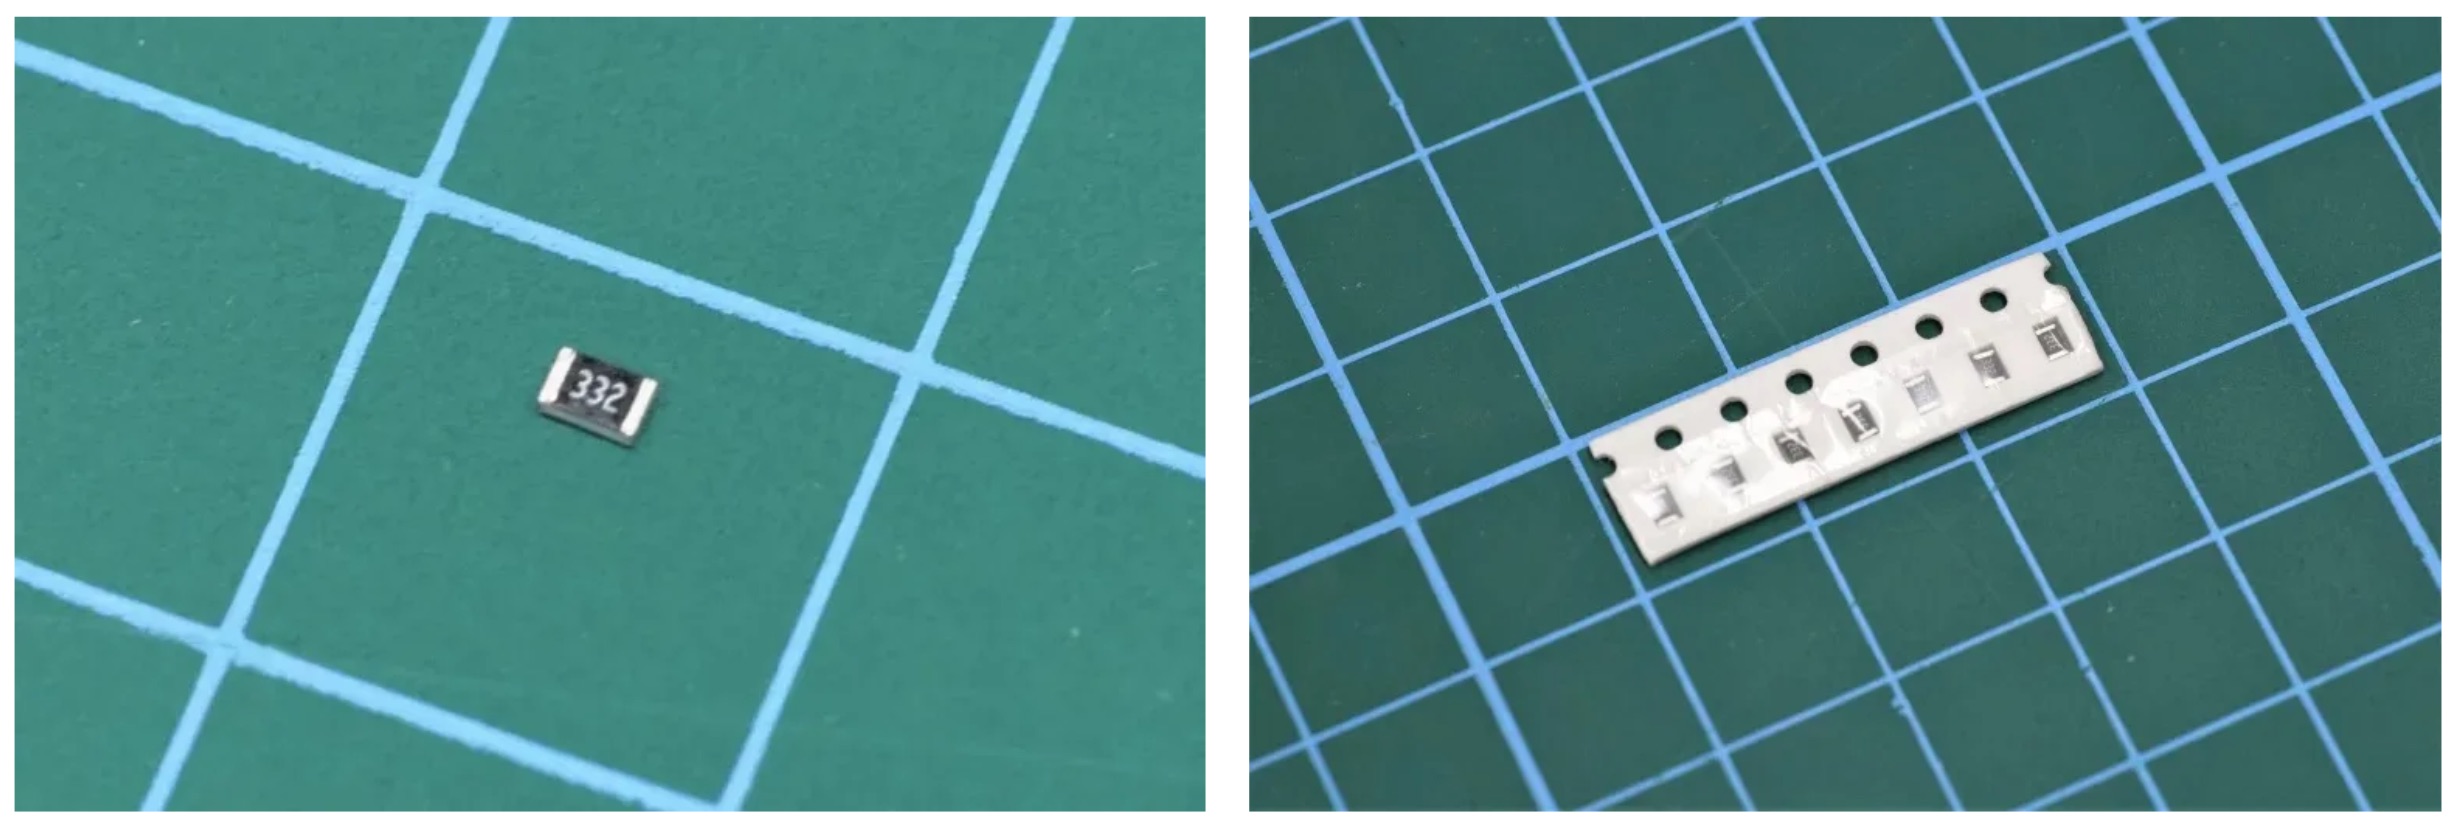
The second thing to note is that not all SMD components have numbers or markings which can make identification challenging at times. To aid in this, MitchElectronics labels strips of components that are hard to identify which include capacitors and resistors (integrated circuits rarely need these labels).
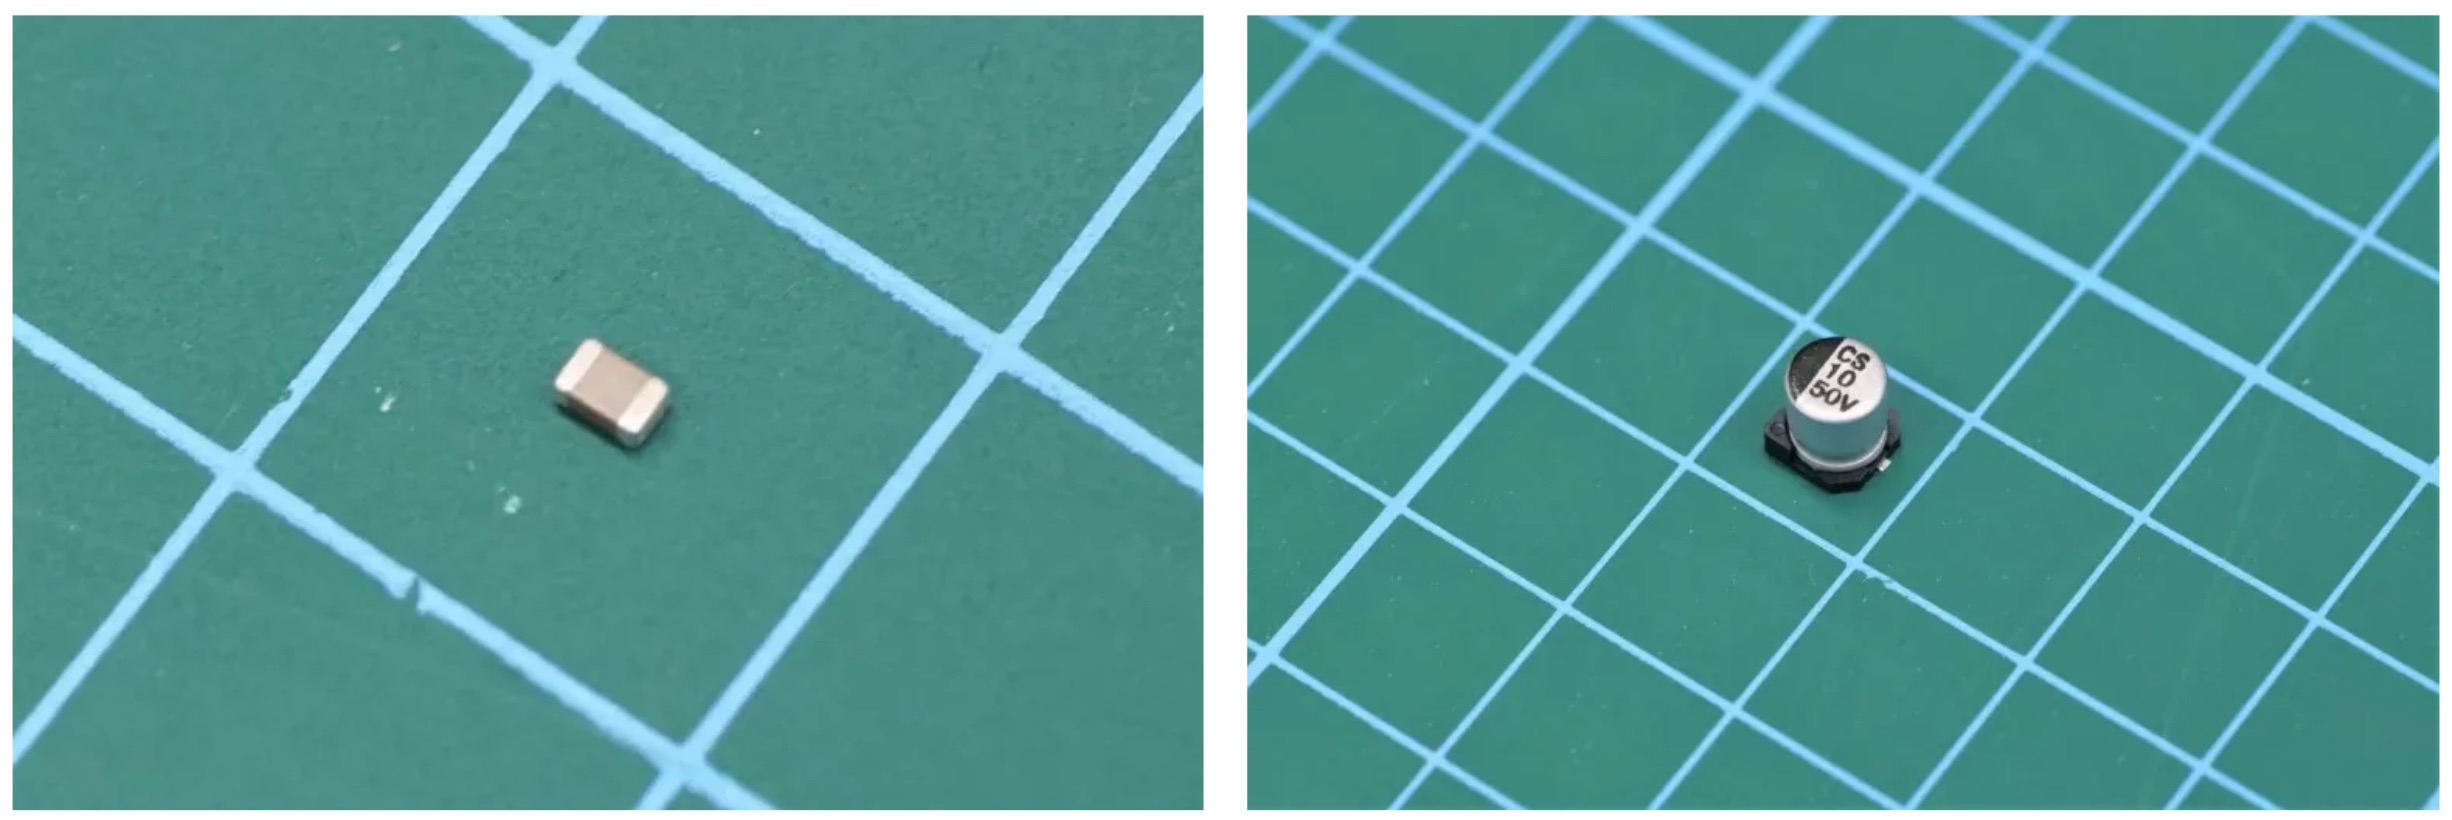
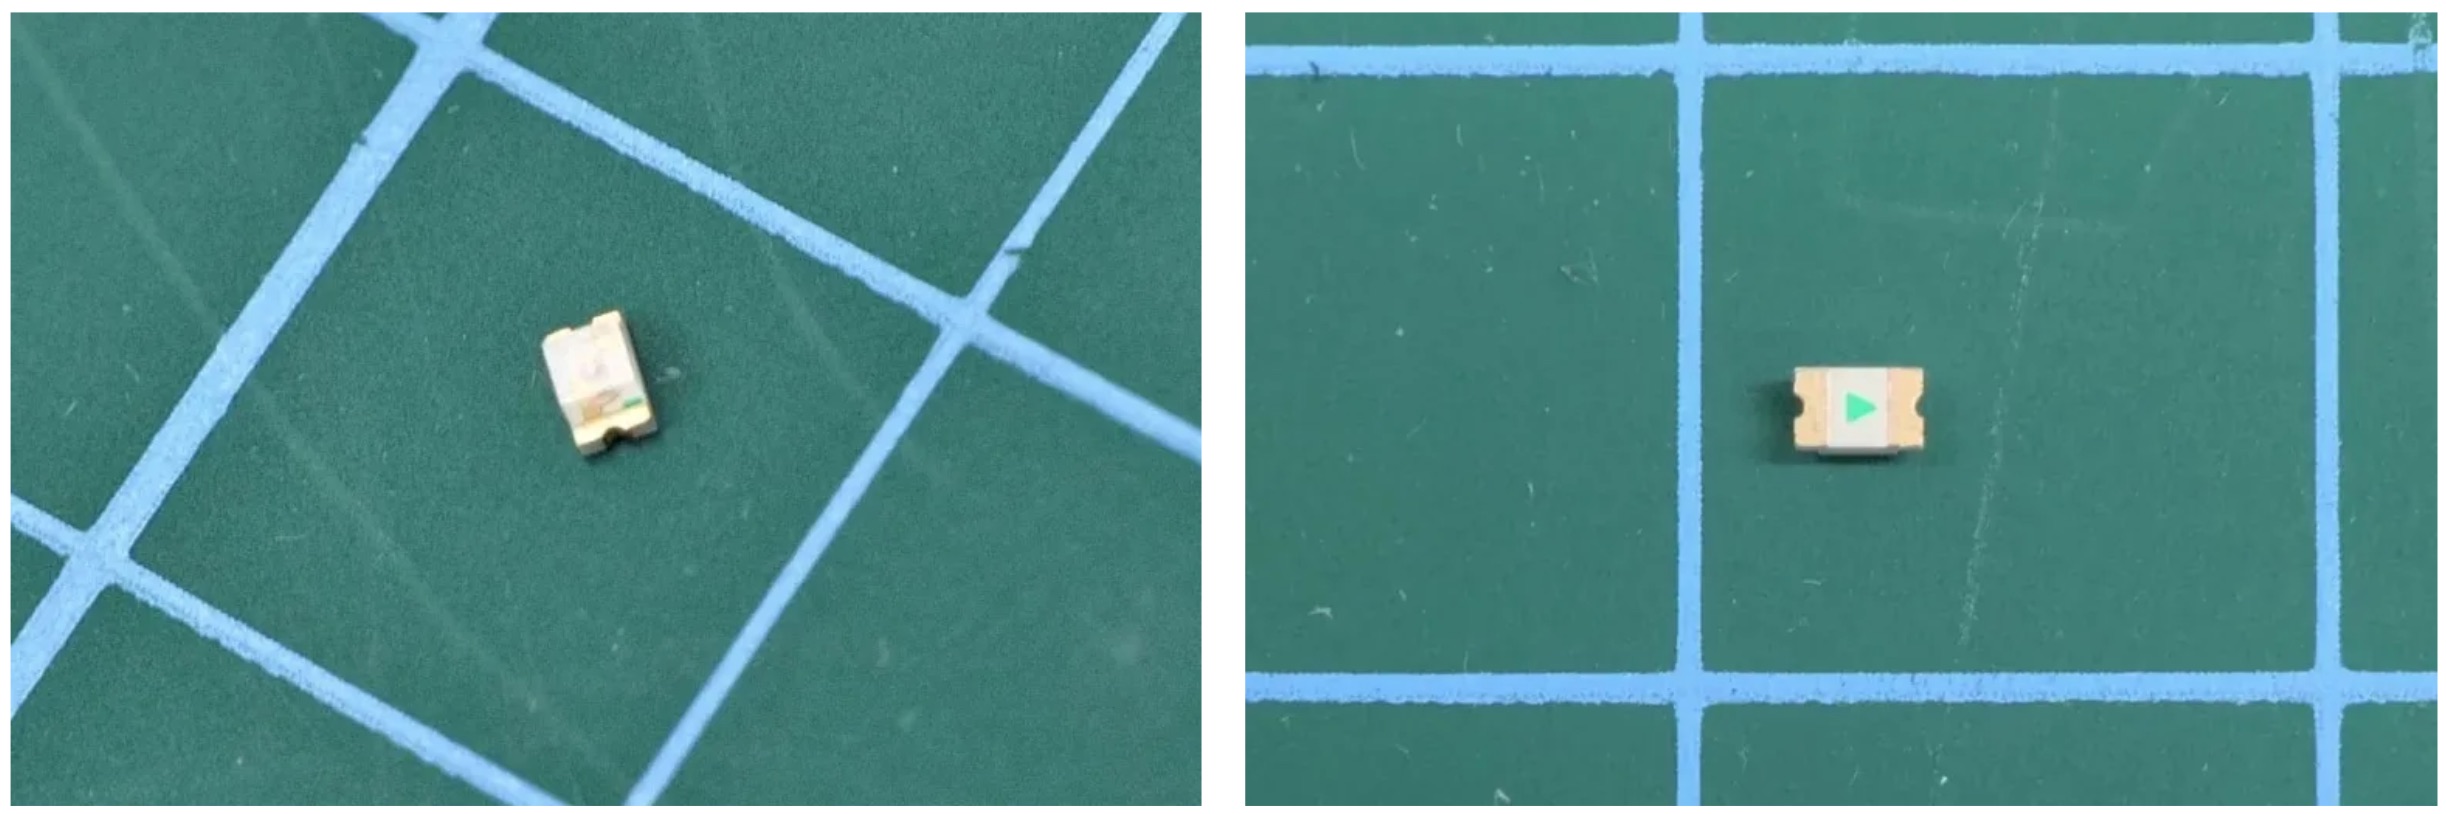
Finally, it is absolutely ESSENTIAL that you check the orientation of your SMD parts and confirm that the right parts are on the right pads. Most capacitors and resistors are 0805 which means that they have the same footprint. As such, it is easy to mix them up, so check, double check, and triple check where you are placing parts, and above all else, NEVER refer to the placement of components by the product image. If in doubt, the instructions you must check out!
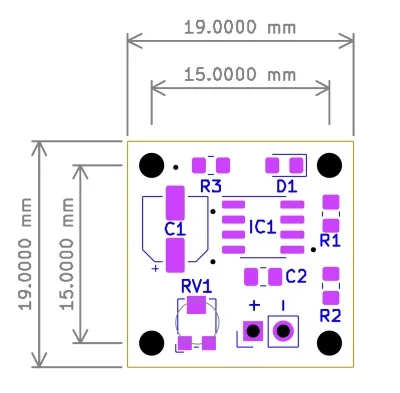
All MitchElectronics kits have been designed to have mounting holes positioned at full mm from each other, all mounting holes are a specific size, and all board sizes are a set number of mm greater than the spacing of the mounting holes. This means that designing enclosures and mounting holes for PCBs is far easier.
In the case of the SMD Trainer range, all mounting holes have a drill size of 2mm, and are 2mm away from each edge. This means that all SMD Trainer kits are rectangular, and the board width and length is the distance of the mounting holes + 4mm. For example, the Transistor Flasher SMD Trainer kit has mounting holes separated by 18mm x 18mm, and this means that the dimensions of the PCB are 22mm x 22mm.
Most SMD parts come in reels that have holes along the edge and a plastic seal. The holes allow for automated machinery to both pull the reel along as well as determine the position of the reel. In a pick-and-place machine, a small suction tube grabs individual parts and places them onto the PCB, and the plastic top layer is automatically pulled away via a second reel.
 Next - Identifying SMD Components

(+44) 7516 323 698

27 Willow Way, Meon Vale, CV37 8FT, United Kingdom

Co. House No. 14068499


